
Raspberry Pi Zero Composite LCD Installation
This tutorial will be based around the 4.3” composite LCD used in my PSPi, but applies to any composite LCD. These LCDs are very simple to connect and only require a small amount of software configuration.
List of Materials Needed:
4.3″ Composite LCD
Hardware
You will need an LCD driver capable of operating at 5v. Most are rated for 12v, but some will function down to about 4.5v. If you’re powering your LCD from the same 5v supply as the Pi, make sure using an LCD that can work at that voltage.
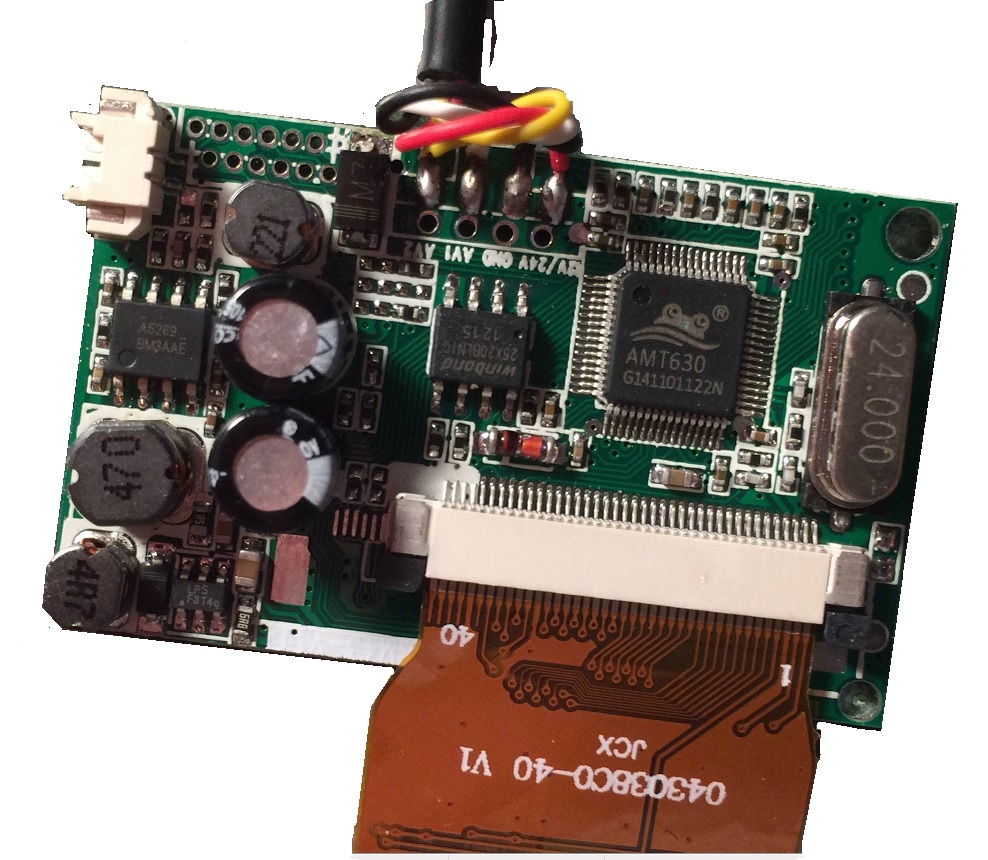
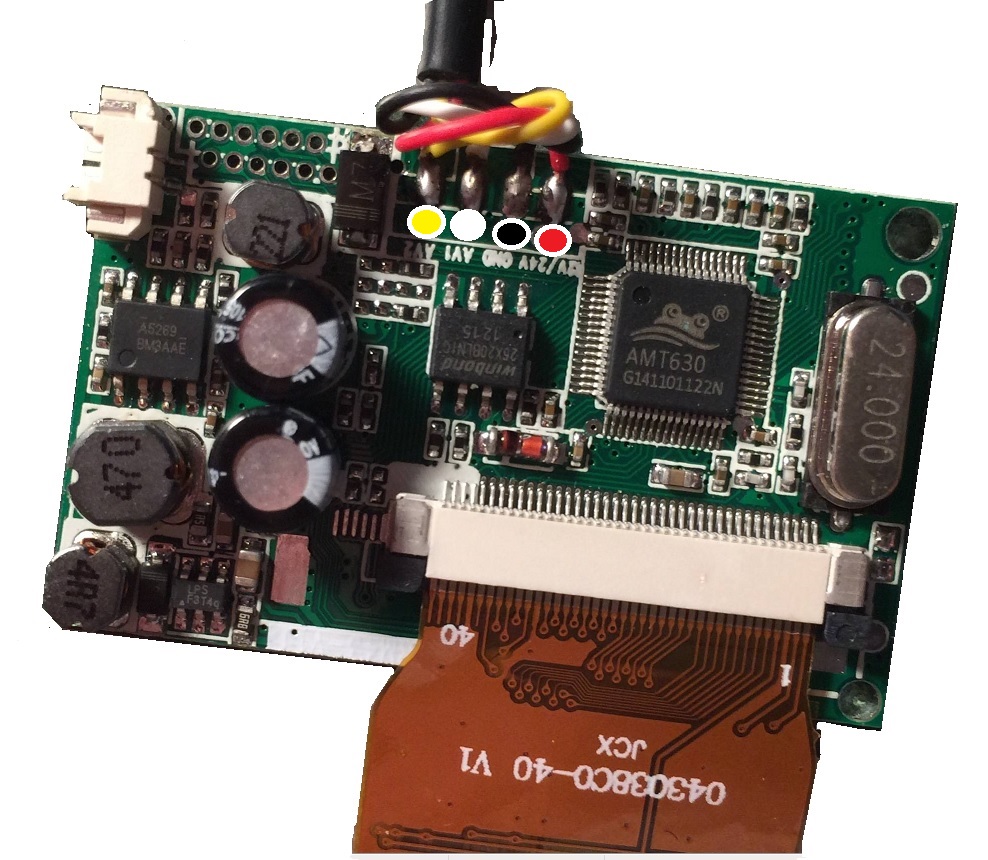
Most drivers have 4 connections, as detailed below:
Black – GND
Red – +5v
White – Composite Input 1
Yellow – Composite Input 2
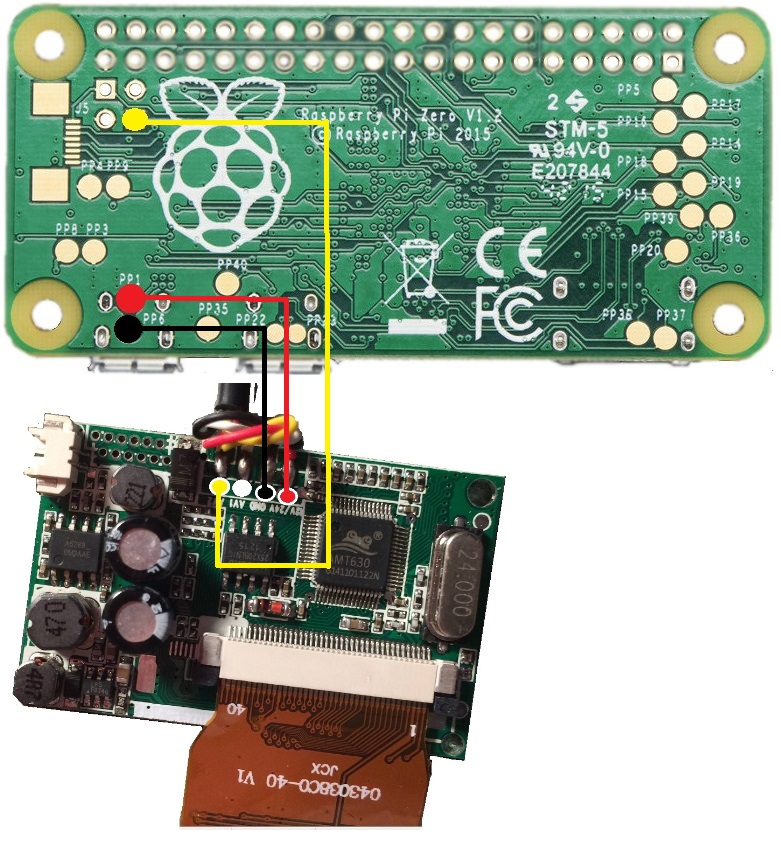
The GND and +5v can be soldered directly to the same power input feeding the Pi. I do not recommend attaching the LCD power wires to the 5v pins on the GPIO, since some composite LCDs can pull a few watts of power and may overload the fuse on the Pi. If you’re using the soft power on/off circuit, then just connect the power wires to same pads PP1 and PP6 used in that tutorial.

As long as the Pi and the LCD driver are receiving power from the same supply, only one wire is needed for the composite signal. I’ve shown the connection point in yellow above. If your project uses a separate power supply for the LCD, then a GND wire will need to be routed to a GND on the Pi. A GND pin is positioned next to the composite input on the Pi if this is needed. I expect that this situation will be rare.
Some drivers will have AV1 and AV2 colors or locations reversed, but it usually makes no difference which one you use. I always just use the one farthest from the power wires in order to avoid signal interference.
Here are the completed connections. It is probably one of the simplest parts of a build.
Make sure nothing is hooked to HDMI when you power on the Pi. If an HDMI device is attached then it will default to HDMI and not output to composite.
Software
The composite LCD should work immediately when the Pi is powered on, but may need some adjustments to get a clear picture.
Load the microSD card on your computer and open config.txt using your favorite editor (I prefer Notepad++) and add the following to the bottom:
sdtv_mode=2
framebuffer_width=480
framebuffer_height=272
disable_overscan=0
overscan_left=0
overscan_right=0
overscan_top=0
overscan_bottom=0
Obviously the width and height settings might not apply to your LCD if you aren’t using the 4.3” one detailed here, so enter the resolution of your LCD here if your values are different.
The last 4 lines are for overscan, which will adjust the image by one pixel to make everything fit correctly on the LCD. Overscan options will require some trial and error and the values can be positive or negative. Every LCD I’ve used has needed different settings, so there is not one-size-fits-all here.
Thank you so much. You are the best. Your tutorials are exactly what people need. Thanks thanks thanks. 😀
Thank you for the feedback. I hope others can avoid the same difficulty I had finding this information. Keep the requests coming.
Yes Lukas is right. Thank you so much for all you work. But does this also mean i can use any display with composite output?
The composite output from the Pi is standard, so yes you can hook it to any LCD or device that has a composite input. You can even hook it to an old tube style TV using composite. I use backup cameras for all of my builds because they always have composite inputs.
Thanks for fast answer. I am now trying to make upgraded version of your pspi with TV (if i will be albe to run an android on it) and mini hdmi output 😀
Awesome. I look forward to seeing pics of it when you’re finished.
unfortunately it will take a lots of time, because I am waiting for parts to arrive and then i will need some time which i don’t have yet. But i am sure i will post them once I will be in progress.
Hi, Lukas! What is the LCD board?
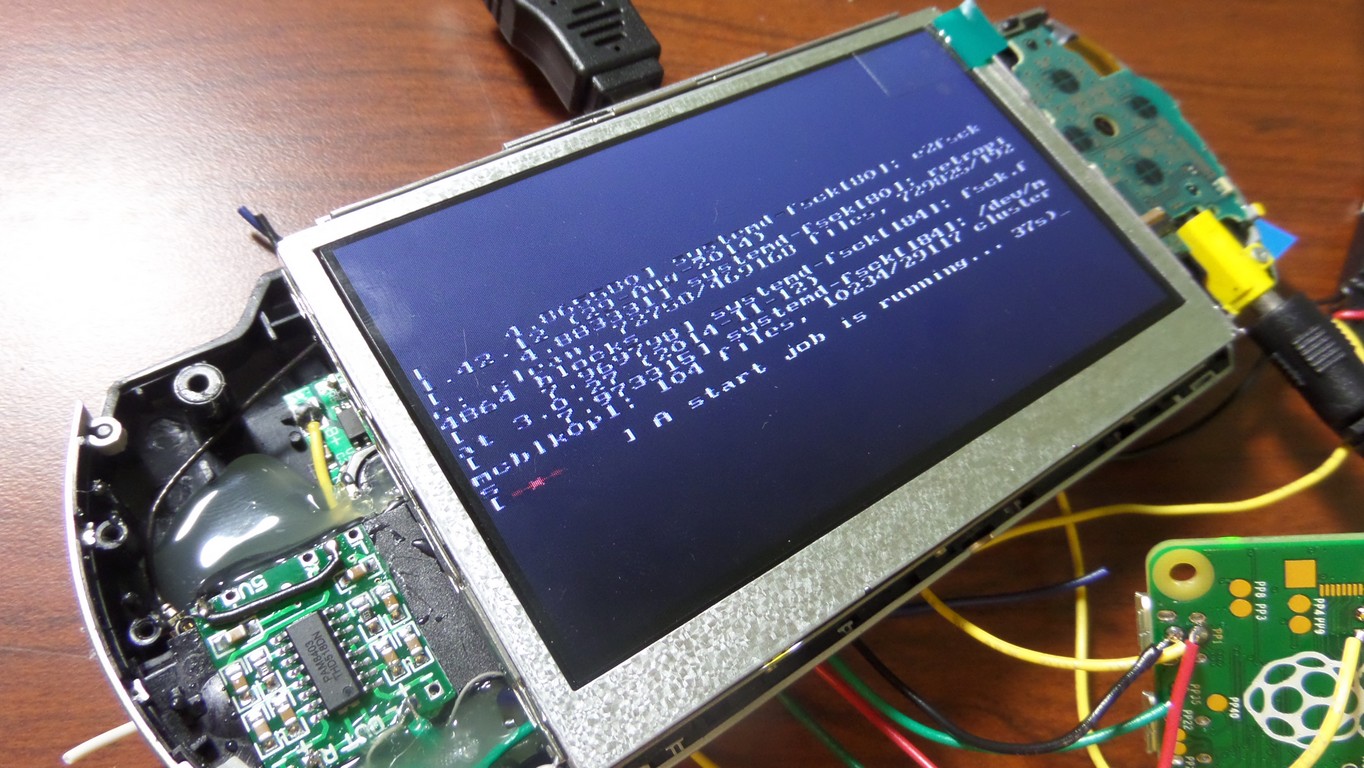
I’m using a similar composite LCD screen with a raspberry pi zero. I’ve updated these values in my config.txt file. I have it wired up to run 5v through a step up converter to 12v and the 12v to screen. When I power up the pi the screen shows the boot up screen with pi logo, then a screen with some terminal text then when it seems like it’s loaded up and I’d expect the raspbian desktop I just get a blank screen. No cursor blinking or partial desktop just a blank (but powered on) screen. Thoughts on anything else I can try?