
Volume Control in RetroPie Games
Here’s a short guide for a few of you that have been asking for it. This applies to the kits and many other projects using RetroPie and similar software. If you’re doing this on the Version 3, make sure to run the setup that’s explained on the Version 3 page first. I consider this guide to be a little rough, and plan to eventually make a more simple automatic method when time permits. I welcome any help with that if someone has time.
There are a few steps required.
Exit RetroPie by attaching a keyboard and pressing F4
Type the following to start editing the retroarch file, making sure to type exactly as shown:
sudo nano /opt/retropie/configs/all/retroarch.cfg
Scroll down the file until you find the following, about 3/4 of the way down:
# Increases audio volume.
# input_volume_up = kp_plus
# Decreases audio volume.
# input_volume_down = kp_minus
Now you must remove the # from in front of two lines. You will end up with the following:
# Increases audio volume.
input_volume_up = kp_plus
# Decreases audio volume.
input_volume_down = kp_minus
After editing, press CTRL+X to exit. It will ask if you want to save, so hit Y for yes. It will then ask for the file name, press ENTER to keep the same name.
Type sudo poweroff to turn off the device, then remove and insert the SD card into your PC.
Next you’ll need to download the following file to replace the original retrogame.cfg (right-click and save as)
https://othermod.com/files/retrogame.cfg
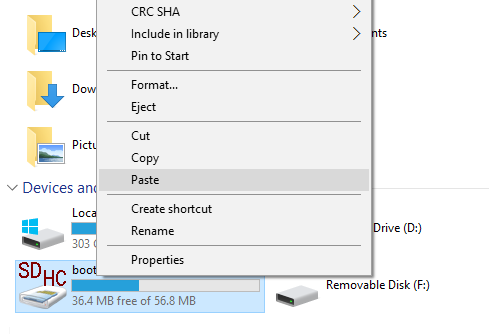
Then just copy and paste it to the SD card, making sure to overwrite the original file.
Now put the SD card back into the Pi and you’re good to go. After starting a game you can adjust the volume by pressing SELECT and VOL+ or SELECT and VOL-